Upgrading from OpenCms 7.x
Revision as of 14:27, 27 November 2014
Contents
|
About this tutorial
OpenCms 8 introduces a lot of great new concepts and functionality that content managers certainly don’t want to miss. While OpenCms 8 is fully backward compatible, to make full use of these new features, existing OpenCms sites need to be adapted for the new technology.
This tutorial shows how to gradually upgrade an existing OpenCms installation to OpenCms 8. It explains how to use existing OpenCms 7 Templates in an OpenCms 8 installation. How to use templates of the old and the new technology together is presented, too. Strategies for a migration of existing templates and content so that they can make full use of the OpenCms 8 features get also shown.
This tutorial also explains the benefits of upgrading to OpenCms 8 even when staying with the old templates, as OpenCms 8 provides a much improved publishing dialog, support for mobile devices, extended content subscription, support for xsd:choice in the XML content editor , HTML 5 based multiple file upload and improved content galleries . All these features are usable without changing the templates or content structure of an existing OpenCms installation.
Migrating from OpenCms 7.x to OpenCms 8
Two possible ways to migrate 1.Exporting modules and content from OpenCms 7.x and import it into a new, fresh OpenCms 8 2.Use the OpenCms Update-Wizard on your existing installation
Export and Import in OpenCms
Manual export and import of modules and content will result in a clean system
- Only the required modules and content need to be exported
- Uses Module & Database management in OpenCms
- BUT: Historic versions of resources will be lost!
- Step 1:
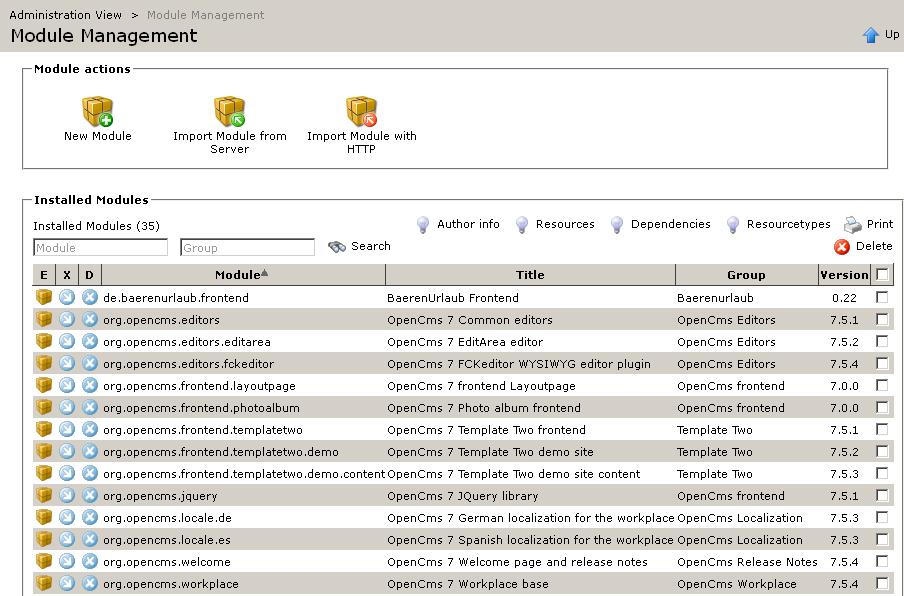
- Export all required modules from OpenCms 7.x
- Always export your modules from the root site!
- Result: One .zip file for each module
- Step 2:
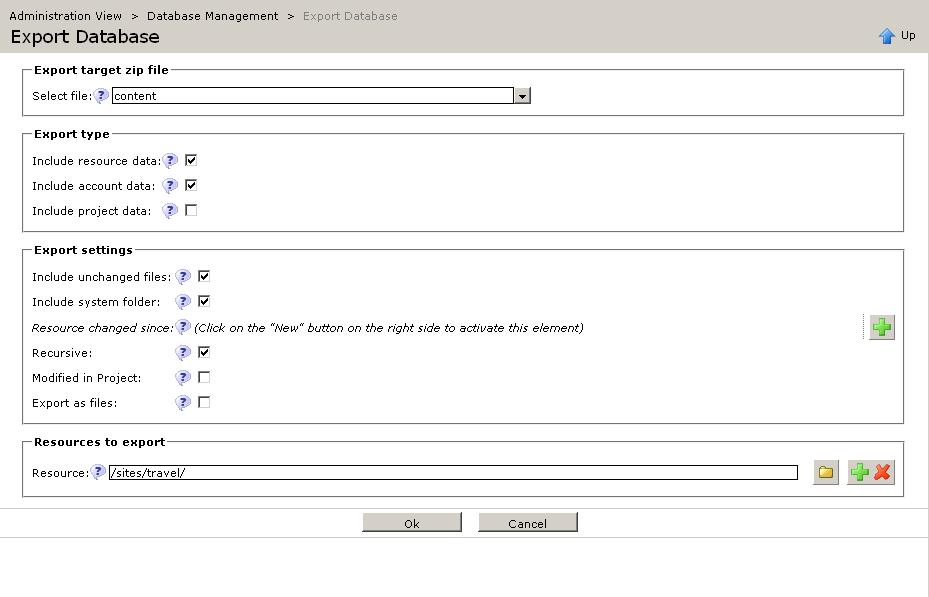
- Export the content from OpenCms 7.x
- Always export your content from the root site!
- Export content& accounts
- Multiple exports on large OpenCms installations(per site/folder)
- Result: One or more content export .zip files
- Step 3:
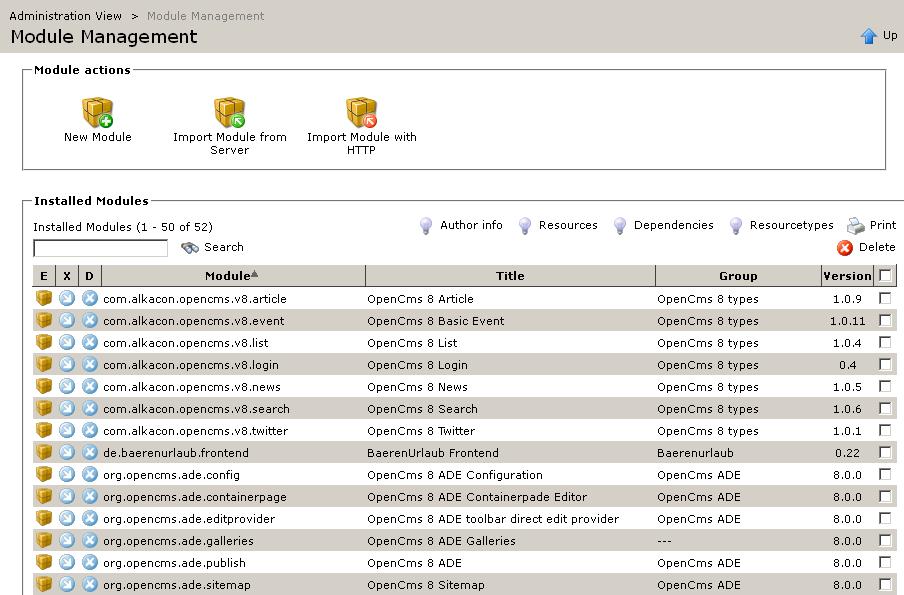
- Import all required modules in OpenCms 8
- Follow the installation instructions provided by the module manufacturer!
- If any changes have been made to configuration files, templates, etc. in OpenCms 7.x you will have to manually add these changes to the equivalent OpenCms 8 configuration files, templates, etc.
- Always import your modules in the root site!
- Module imports are published automatically
- Do not forget libs!(if you have some)
- Import all required modules in OpenCms 8
- Step 4:
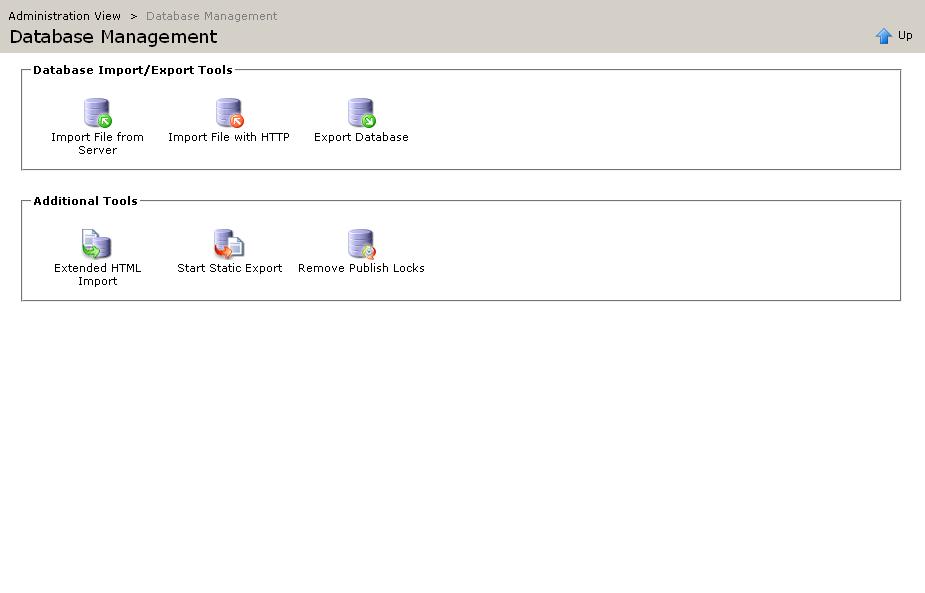
- Import all content exports in OpenCms 8.0
- Always import your content in the root site!
- Large imports should be done via the server directly, very large imports should be unpacked on server
- Content must be published after import
- Restart Servlet-Container
- Done !
Using the Update-Wizard
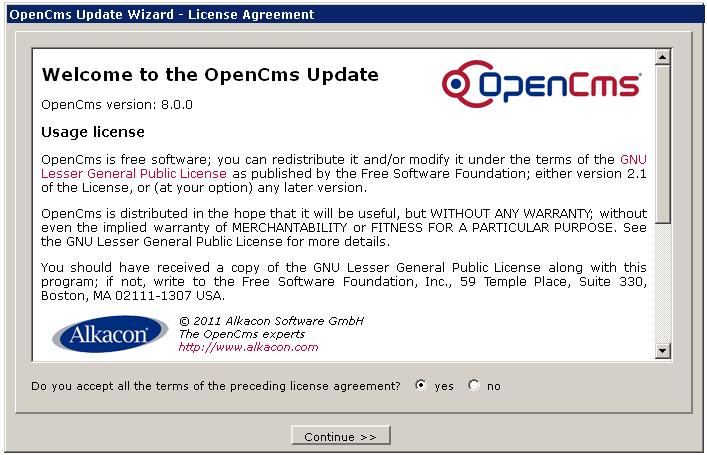
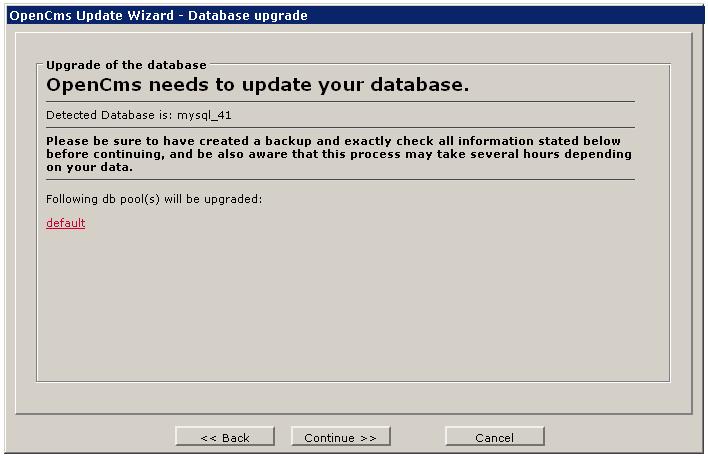
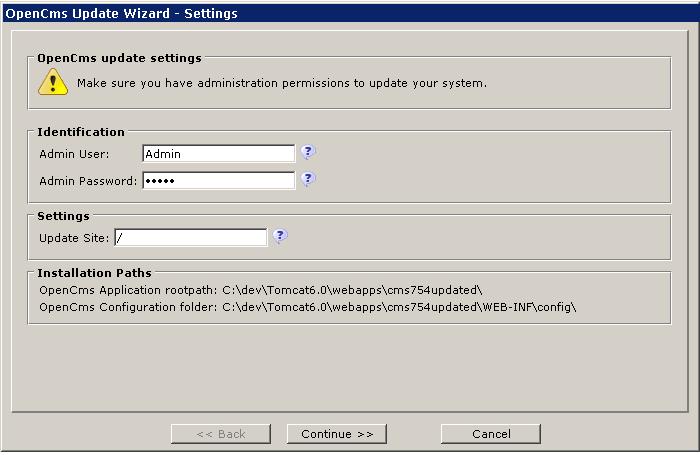
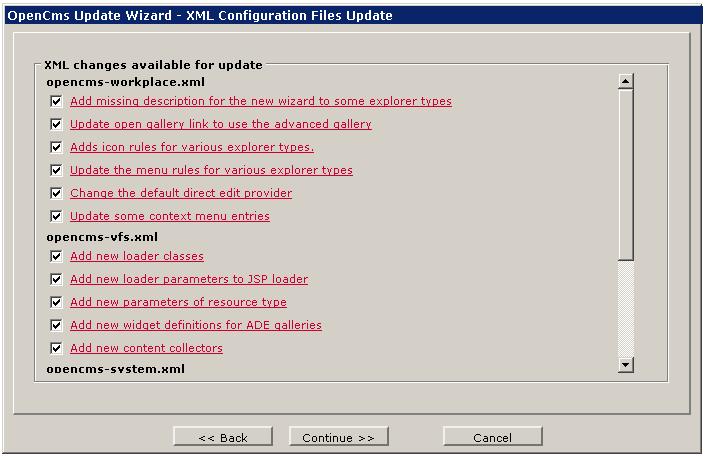
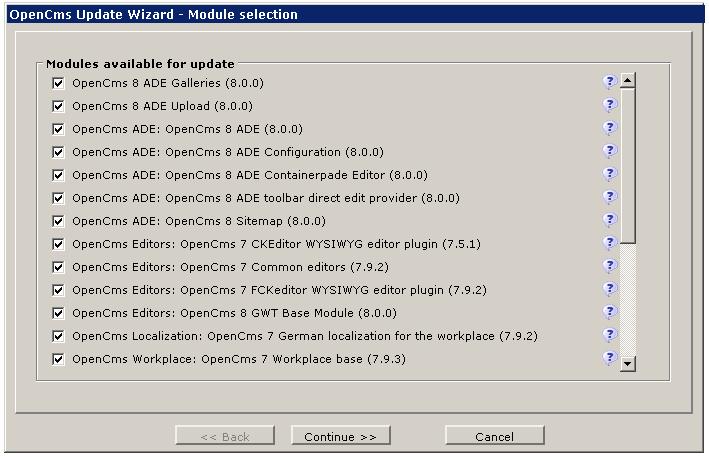
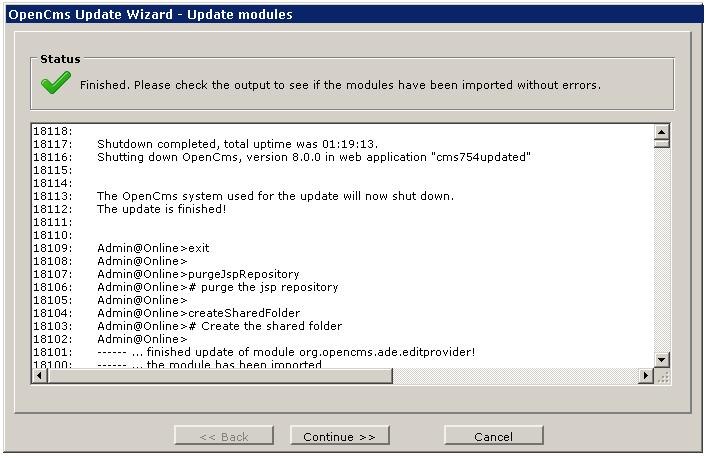
The Update Wizard automatically updates an existing OpenCms 7.x installation to OpenCms 8:
- Modification of the Database Structure
- Modification/Enhancement of the OpenCms configuration files
- Replacement of all Java libraries (where required)
- Update of all OpenCms core modules
- Existing content is untouched
- Historic versions remain
- Delete previous Update-Wizards!
- Deploy the Wizard
- Enable Wizard in opencms.properties:
[…]
wizard.enabled=true
[…]
- Start the Wizard with http://[ServerName]/[WebappName]/update
| |
| |
| |
| |
| |
|
Required modifications
Modifications that might be required:
- If you use <cms> Taglib and JSTL for your JSPs, no further modifications are required!
- It is possible that you have to modify your JavaBeans or scriplet code due to Core API changes
- BUT: Those changes are only minimal
- Updating from OpenCms 6 to OpenCms 7 was much more complicated because of more API changes
Benefits of using OpenCms 8 with your OpenCms 7.x webapp
Available OpenCms 8 features without any modifications
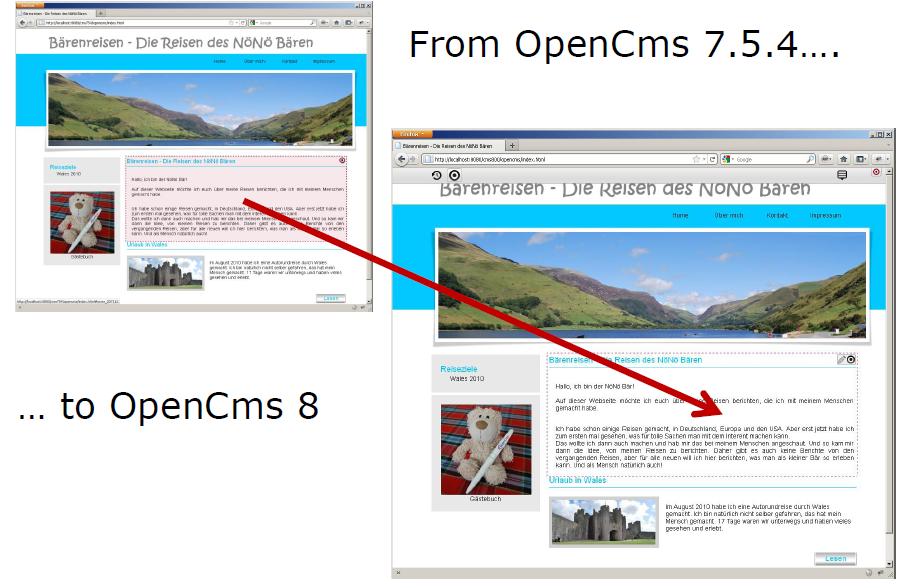
The existing OpenCms 7.x webapp will run in OpenCms 8 as before, and uses the new features in your templates without any changes:
- OpenCms 8 Direct Edit / Availability
- OpenCms 8 Publishing
- New Upload Dialog
- New Galleries
- Shared Site
You will benefit of all Core-Bugfixes and enhancements since OpenCms 7.x
The existing OpenCms 7.x webapp does not use:
- OpenCms 8 Drag & Drop
- OpenCms 8 Configuration
- OpenCms 8 Sitemap
OpenCms 8 feature that require modifications
It is required to modify your XSD, templates and elements. It also requires additional configuration files in the OpenCms VFS.
The existing OpenCms 7.x webapp can use the none ADE-enhancements:
- Content Subscription Engine
- Device-Tag for device-depending templates
- XSD-Choice function
This requires changes to your templates and elements.
Usage of OpenCms 7.x elements in OpenCms 8
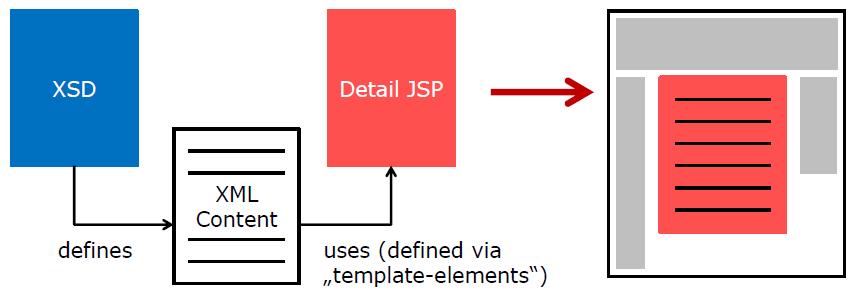
In OpenCms 7.x the following components were involved in displaying your (structured) content:
- XSD: Defines the structure of your content
- XML-content files: contain the content
- Detail-JSP: JSP to render your content
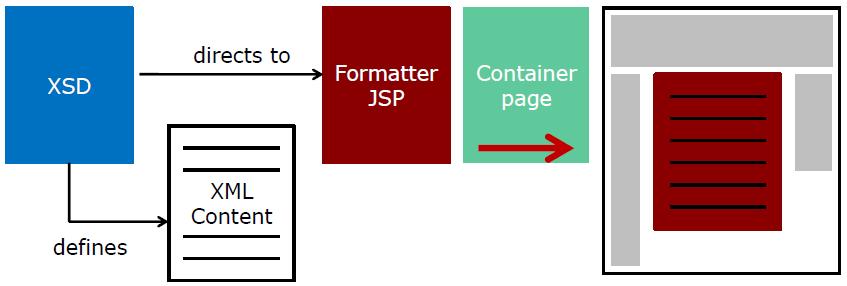
In OpenCms 8 this has changed:
- XSD: Defines the structure of your content and the formatter
- XML-content files: contain the content
- Formatter(s): JSPs to render your content
What must be done to transform your OpenCms 7.x contents and JSPs into drag&dropable elements in OpenCms 8?
The good answer:
- Only 3 easy steps are required!
- For "normal" contents it only takes a few minutes to do the modifications
Transformation of "old style" elements into OpenCms 8 usable elements
Step 1: XSD: Add additional annotation nodes:
- <formatters>: Add one or more formatters to display the content (mandatory)
- Optional, often used additions:
- <settings>: Settings that can be accessed in the formatters and whose values are defined via the ADE
- <headincludes>: Includes of .js and .css files that must be included in the HTML-Head, like custom styles, needed Jquery imports, etc.
Changes in XSD (<xsd:appinfo> node):
[…]
<formatters>
 <formatter minwidth="400" uri=path_to_formatter.jsp" />
 <formatter minwidth="200" uri="path_to_other:formatter.jsp" />
</formatters>
<settings>
 <setting name="boxschema" nice-name="Box Schema" type="string" widget="select" widget-config="box_schema1:Schema 1|box_schema2:Schema 2|box_schema3:Schema 3" />
</settings>
<headincludes>
 <headinclude type="javascript" uri="path_to_js.js" />
 <headinclude type="css" uri="path_to_css.css" />
</headincludes>
[…]
Step2: Detail JSP is modified into a formatter:
- Replacement of <cms:contentload> with <cms:formatter>
- In most cases a simple replacement of the two tags
- Optional: Create different formatters for different containers (left, middle, center,…)
- Configurable OpenCms 7.x structured content can be transformed in multiple formatters:
Transformation Detail-JSP -> Formatter
|
OpenCms 7 (Detail-JSP) |
OpenCms 8 (Formatter) |
[…]
<cms:include property="template" element="head" />
<cms:contentload collector="singleFile" param="%(opencms.uri)" editable="true">
<cms:contentaccess var="content" scope="page" />
[…]
${content.value.Title}
[…]
</cms:contentload>
<cms:include property="template" element="foot" />
|
[…]
<!–-no template-include-->
<cms:formatter var="content" val="value">
<!–no init of contentaccess-->
[…]
${content.value.Title}
[…]
</cms:formatter>
<!–-no template-include-->
|
Detail-JSPs and formatter
- If you want to use your content "oldstyle" and with OpenCms 8 templates simultaneously:
- Make a copy of your old detail pages and modify it as a formatter
- "Old style" will use "template-elements" property and the old detail page
- OpenCms 8 -Template will use formatter information from XSD and new formatter jsp
- Additional fine tuning(divs, styles etc.) might be required in your new formatters
Step 3: Registration of content types in the OpenCms 8 sitemap configuration
- Source File: The model file for this content
- You have to create one model file via the Workplace -> New function
- Destination: Where to store new content
- Folder: The folder in the VFS to store the content files
- Pattern: The naming pattern for new content files
- Formatter (optional): Overwrites info in XSD
Usage of old content list as OpenCms 8 elements
Usage of List-Elements
- List-Elements show a list of news, events, xmlcontent in general
- In OpenCms 7.x, we called it a "List-Jsp" with code like this:
[…]
<cms:contentload collector="allInSubTree" param="....">
 […]
 <cms:contentaccess var="content" scope="page" />
 ${content.value.Title}
</cms:contentload>
[…]
Content lists are now seen as content-types in OpenCms 8
- Define a new resource type for your list-element
- Create the XSD
- Transform the List-JSP into a formatter
- Register the new defined contenttype
<cms:formatter>
 <cms:contentload collector="${collector}" param="${colparam}">
  […]
  <cms:contentaccess var="content" scope="page" />
  ${content.value.Title}
 </cms:contentload>
</cms:formatter>
Optional: List configuration
- Selection of the collector / configuration of collector params
- Number of elements to be displayed
- Other options
- Make your list configurable within the new defined resourcetype via the content editor
- Make your list configurable with resourcetype settings in the <settings> node of the schema
- Combination of both is possible
Example of a configurable list (via the settings)
[…]
<cms:formatter>
 <c:set var="collector"><cms:elementsetting name="collector" default="allInSubTree" /></c:set>
 <c:set var="colparam"><cms:elementsetting name="colparam"/></c:set>
 <cms:contentload collector="${collector}" param="${colparam}">
  […]
  <cms:contentaccess var="content" scope="page" />
  ${content.value.Title}
 </cms:contentload>
</cms:formatter>
[…]
Summary
- Upgrading to OpenCms 8 is easy
- You can use your existing application like before
- It takes 3 easy Steps to use existing content in OpenCms 8 templates with all OpenCms 8 functions!
